3D optimization and how to use it in 3 simple steps
Table of Contents
What is 3D optimization, and why is it needed?
3D optimization – when applied correctly to a 3D model – can make it possible to use a 3D model in many different applications.
Since 3D models are a complex medium, and since all applications have different requirements, this usually involves the adjustment of various aspects of the input model for best compatibility and performance - including, but not limited to, polygon count, texture count, texture resolution, or formats used for 3D model and texture files.


What aspect does a typical 3D optimization workflow consist of?
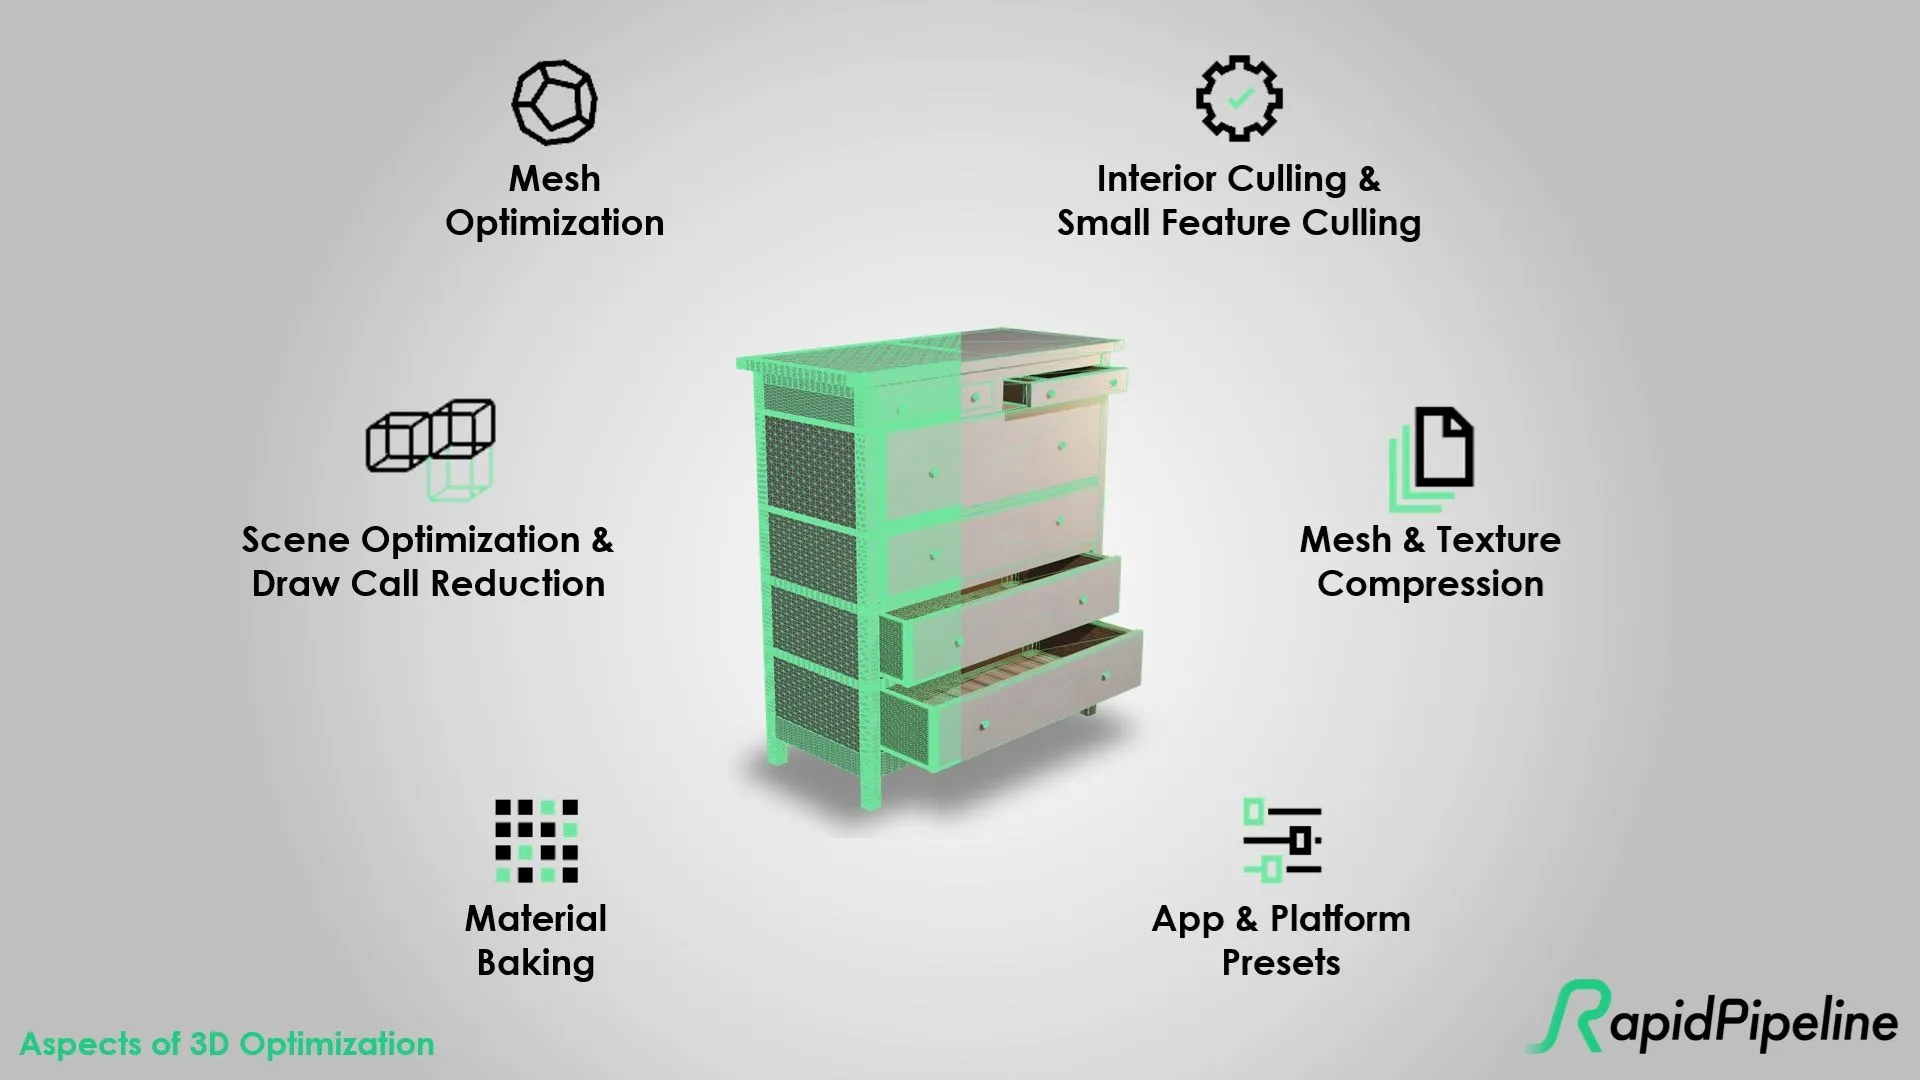
3D optimization consists of various aspects which are typically all important, especially when aiming at real-time 3D and XR applications:
| Aspect of 3D optimization | Why is it important? |
| 3D mesh optimization (simplification) | Compact meshes render fast and reduce file size for transmission |
| Interior culling & small feature culling | Benefits are same as for mesh optimization – culling invisible parts or small parts can be seen as a special variant of mesh optimization, for use cases that allow for it |
| Scene optimization & draw call reduction | An optimized scene graph and draw call optimization can help to speed up rendering |
| Mesh & texture compression | Compressed meshes and textures will transmit faster and (in case of textures) also use less GPU memory |
| Material baking | Baked materials may help reduce draw calls further and can speed up rendering through reduced number of material switches |
| App & platform presets | Using optimized presets for target devices and platforms helps to meet the necessary standard requirements on various parts of the 3D model (example: 3D file format used, profile used, material system and extensions used, max. texture resolution, mesh resolution, …). |
Learn more about recommended setting for typical publishing targets in the Khronos 3D Asset Creation Guidelines.
Useful Definitions
The following definitions might be useful to understand when diving into 3D optimization:
- 3D mesh optimization: Process of making an input mesh more suited for a target application – typically involves the reduction of polygon count and re-defining the topology.
- Interior culling & small feature culling: Process that removes invisible inner parts or very small parts (both kinds typically encountered in CAD data, for example), which aren’t really so impactful or even visible in the final 3D visualization and can hence be omitted for the sake of having a compact asset that renders much faster.
- Scene optimization & draw call reduction: Process of restructuring the 3D scene logic, so that it is easier to further process, say, in real-time and XR applications. When reducing draw calls, this typically directly speeds up rendering, especially when the input has hundreds of separate parts.
- Mesh & texture compression: Method of applying compression to mesh data (e.g., Google Draco) or texture data (e.g., UASTC or ETC1S via KTX), so that the data consumes less memory during transmission or even at rendering time (the latter is usually the case for texture compression methods).
- Material baking: Process of creating textures that represent original material data in a texture image – often a PBR texture set, which makes the asset ready for Physically-Based Rendering. Baking can represent all kinds of attributes in respective textures, such as colors, roughness, “metalness”, or surface mesostructure (normal maps). For this to work, the model to bake on requires non-overlapping UV coordinates.
In the following, you can see an interactive example of 3D optimization on a 3D model, using a wireframe overlay.
The model on the left has 9 textures / 7 draw calls, while the model on the right has a single texture atlas / single draw call. Also, polygons were reduced from 900K (left) to 100K right:
Optimizing a 3D model in 3 simple steps
If you have 3D models that you'd like to optimize, dont' worry - it's actually easier than it sounds! Here's how you can do it using RapidPipeline, in 3 simple steps:
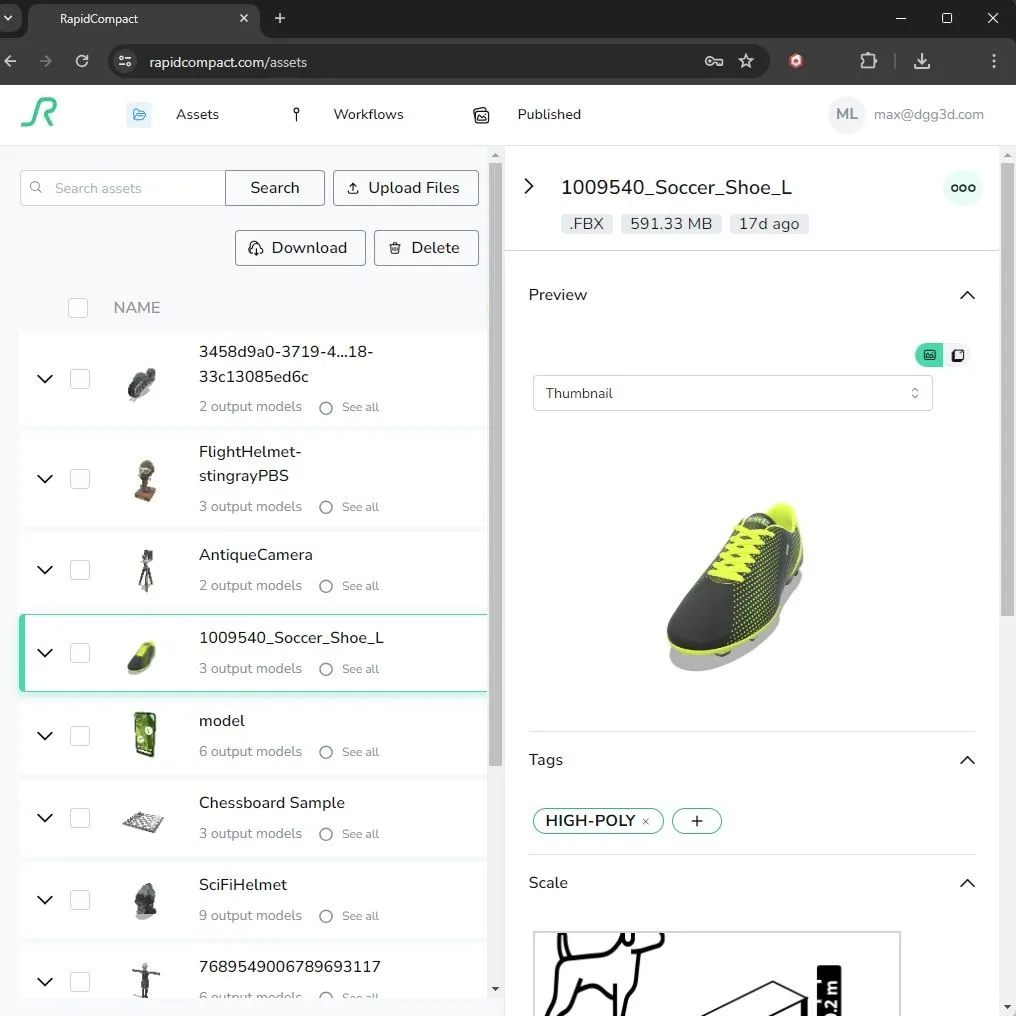
- Upload 3D model. Upload your 3D model at RapidPipeline. If you don’t have an account yet, you can sign up for free (no credit card required) .
Launch optimization. Dial in your own target settings (polygon count, texture resolutions, baking settings, …) in a custom preset (option 1) OR choose a factory preset (option 2).
Example for using a factory preset: Choose the “Single-Item Mobile” preset to prepare your asset in a way that works well for most assets and mobile phones, for Web-based 3D and mobile AR.
Select the models you want to optimize by checking them in the list, then press the “Optimize Selected Models” button to start the optimization.
Download results. Download your resulting files for use in your own application (typically, creators will use .usdz and .glb files for mobile targets, but in the preset settings other formats can be selected too for use in game engines, etc., including OBJ and FBX, for example).
Meet the Author

Max
CEO & Co-Founder
Max is a Co-Founder and the CEO at DGG. Working with leading retailers, Max and his team are on a mission to automate 3D asset optimization workflows for real-time applications - for e-commerce, games and beyond. Max received his PhD of engineering with honors from TU Darmstadt, in the area of 3D data optimization. He has also helped to shape the glTF format at Khronos.
Related Articles
- How to insert a 3D Model in PowerPoint and make it perform well at small filesize
- A Guide into Remeshing for Optimized 3D Model Topology
- Create LODs for your 3D models – A Step-by-Step Guide
- ORM textures and how they work in 3 simple steps
- Mesh simplification: 3 ways to automatically optimize 3D geometry