3D Model of the Month – How to reduce the size of your VRM models
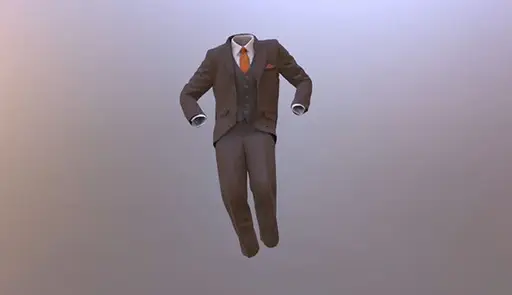
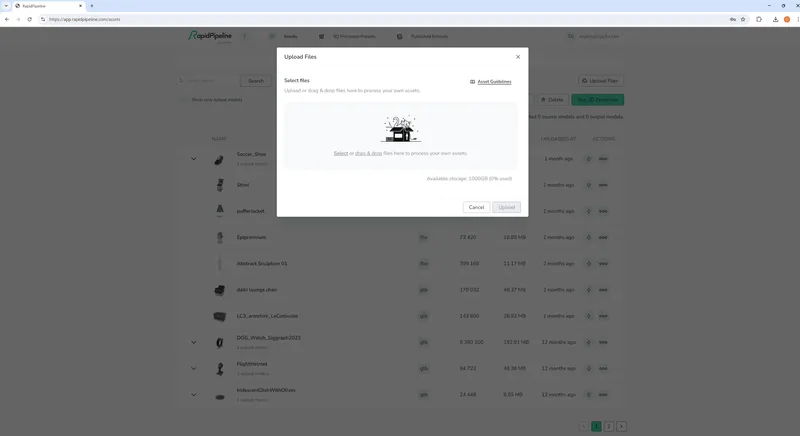
Upload your VRM model
First, get a VRM model. You can take that model you’ve been working on for weeks, or, if you don´t have one, you can find some on the internet. For this tutorial we have taken one of the VRM sample models, which can be found in Github. First, you need to go to RapidPipeline. Sign up if you don´t have an account or use your already existing one. Upload your VRM model by simply dragging-and-dropping it in Upload Section.
Create a customizable preset
Once the upload is completed, you can find it in the list. You could select one of the already predefined optimizations parameters you can find in the 3D Processor Presets, but maybe those won’t fit your requirements. Thus, I highly recommend you creating your own, it takes a couple of seconds. You just need to click on Create Preset, and there you go. You can edit the configuration easily so that it meets your needs.
For this tutorial, we have taken the recommended specs for different VRM platforms and marketplaces as a reference. If you want, you can just copy our settings. If you create your own configurations, please note that you still must choose the Preserve UVs simplification mode, other modes might cause unexpected results in VRM models.
Settings
Limits:
- Face Count: Max. face limit 7000
- Texture Size: 1024 px
Targets:
- No Smart Target
Asset Simplification:
- Asset Simplification Mode: Preserve UVs
- Polygon Distribution Method: Adaptive
- Vertex Merging Distance: 0
- Boundary Preservation: 0.5
- Preserve Topology: Off
- Texture Baking Quality: Medium
- Bake Normal Map: Off
- Bake AO Map: Off
- UV Creation Method: Hard Surface
- Atlas Factor: 1
- Normals Shading Angle: 60
- Aplha Blend to Mask Conversion: Off
Compression & Export:
- File 1: GLB | None | Auto
- File 2: USDZ | None | Auto
- File 3: VRM | None | Auto
Ready for any platform
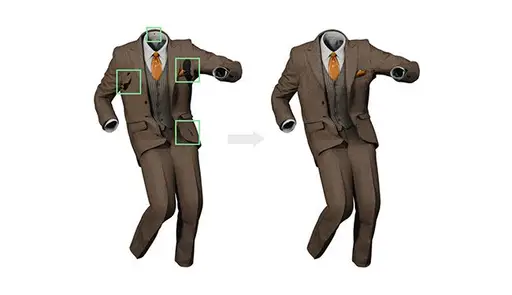
And we are done! You can download your model in the Optimized Models tab. Now you can take your optimized VRM model to your preferred platform. For this tutorial, we have imported our model in the OWN VRM Viewer. We can still apply the poses and animations to our character. In comparison with the original model, this version loads way faster (0.35 seconds instead of 1.5) and the response is smoother.

During our optimization, we also automatically converted our VRM model to glTF. You can see our result in the Embed we have prepared below. Now you can optimize your VRMs model in one single step.

Meet the Author
Teresa
Technical 3D Artist
Teresa is a 3D Technical Artist at DGG, bringing with her a robust background in Animation and Game design. Driven by a passion for the intersection of art and technology, she relocated to Germany to pursue her artistic ambitions. Within DGG, Teresa plays a pivotal role in infusing the team with her artist's perspective, focusing on the creation of high-quality visual content and ensuring the quality assurance of tools. Her overarching goal is to continually evolve within the industry, delivering compelling visual solutions that resonate with DGG's mission of streamlining and scaling 3D content preparation.
You might be interested in