
How to insert a 3D Model in PowerPoint and make it perform well at small filesize
Table of Contents
Adding your own 3D model or a 3D model from the Microsoft online library to your PowerPoint presentation is child's play. However, this is not always the best result in terms of performance and file sizes, or it is not in the correct file format
In this guide, we therefore explain not only how to insert your 3D model into a PowerPoint presentation, but also how to make it small, performant and convert it to the right file formats. This is just as easy and can be done with just a few clicks! The Microsoft PowerPoint recommendations are always adhered to.

Create 3D digital twins for CGI & XR, faster than ever.
Turn your raw 3D or CAD into realistic digital twins.
How to insert a 3D model to PowerPoint
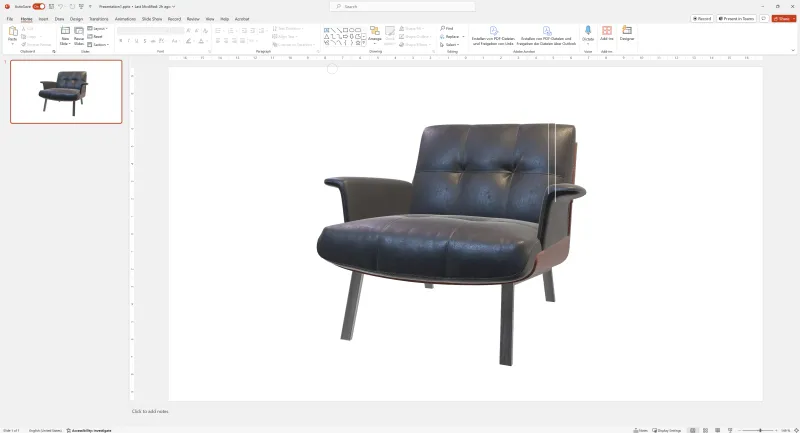
It is pretty easy to insert a 3D model from your local files into PowerPoint. On the Insert tab at the top, select 3D Models and then From Device... You can use the standard controls to manipulate the 3D model once it's inserted.

Microsoft PowerPoint supports the upload of the following 3D File Formats:
- GLB
- FBX
- OBJ
- PLY
- STL
- 3MF
3D Content Guidelines for PowerPoint
Besides the supported 3D File Formats, Microsoft provides 3D Content Guidelines to achieve best visual quality. The limits for triangles, textures, texture resolution and draw calls are listed in the following table.
3D content targets for Microsoft PowerPoint to achieve best visual quality
| Low End | Mid-Range | High-End | |
| Max. triangles | 25k | 40k | 60k |
| Max. textures | 5 | 9 | 12 |
| Max. texture resolution | 512x512 | 2048x2048 | 4096x4096 |
| Average texture resolution | 256x256 | 1024x1024 | 2048x2048 |
| Max. Draw Calls | 4 | 6 | 8 |
▶ Read more: 3D Content Guidelines for Microsoft PowerPoint
How to make your 3D model small and performant for PowerPoint using RapidPipeline
Create 3D digital twins for CGI & XR, faster than ever.
Turn your raw 3D or CAD into realistic digital twins.
How to achieve the best visual quality in 6 simple steps:
- Sign up to RapidPipeline.
- Go to "Assets" and upload your 3D model.
- Make sure that the model you want to optimize is selected and click "Run 3D Processor".
- Click "Application" and choose the preset "Power Point" then click "Run 3D Processor".
- Download optimized model as GLB.
- Insert into PowerPoint.
▶ Read more: 3D optimization and how to use it in 3 simple steps
Meet the Author

DGG Team
The 3D Pipeline Company
DGG is on a mission to connect the real and virtual by making 3D models as easy to handle as 2D images.