
How to Cleanup Mesh in Autodesk Maya
General Information
This guide is part of the RapidPipeline 3D Plugin Actions Knowledge Base. It shows how to Cleanup Mesh on Autodesk Maya; if you'd like to know more about it, please check out the following links:
Best-in-Class 3D Processing in Your Favorite Tools.
100% Local Processing via Desktop Software.
Tutorials & Videos
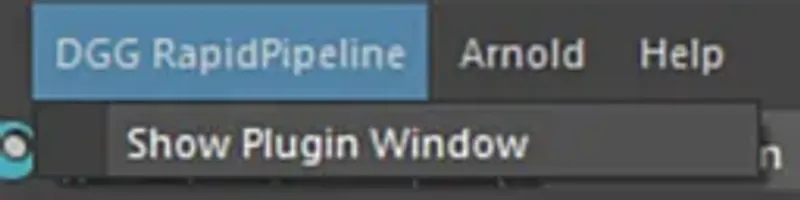
- On the Menu Bar, click on DGG RapidPipeline and choose Show Plugin Window.
- Select the faulty meshes by clicking on it in the Viewport, all the model, or do not select anything (all the scene will be processed).
- Inside the Plugin window, choose the action Clean Up Mesh.
- Enable Fix Winding Order in the action settings.
- Press the Run button. These settings are optimal for this model, as some parts have incorrect winding order. For other models with faulty mesh normals, the setting Fix Winding Order may not be needed. In that case, simple use Recompute Input Normals. The angle at which recomputed normals will be considered “hard” is controlled with the Normal Hard Angle Threshold setting.
- Use the Maya Plugin
- Select a part
- Run an Action
- Examine the results
This tutorial shows how use the RapidPipeline Processor Plugin in Maya to clean up model´s geometry and fix frequent mesh issues. This page will guide you through the use of the Action Clean Up Mesh with a CAD model example with faulty normals/winding order.
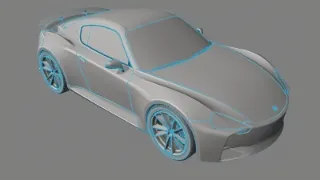
See below an overview of the performed fixes during this tutorial: the normals and winding order of the mesh, wrong in the original file, have been fixed in the output.
The example asset in this tutorial is based on 'Gusto - electric sports car concept' by Mikko Hörkkö, sourced from GrabCAD.
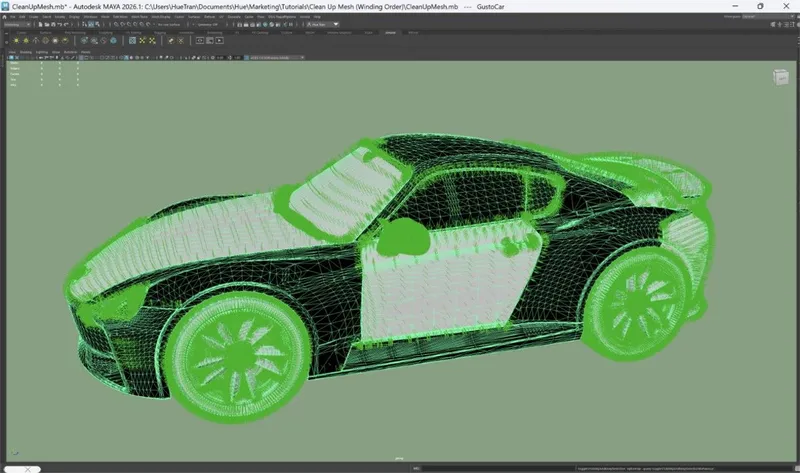
Input with wrong Winding Order.
Input with wrong Winding Order (close-up).

Output with correct Winding Order.
Output with correct Winding Order (close-up).
Clean Up Mesh Action
- Select the faulty meshes by clicking on it in the Viewport, all the model, or do not select anything (all the scene will be processed).
- Inside the Plugin window, choose the action Clean Up Mesh.
- Enable Fix Winding Order in the action settings.
- Press the Run button.
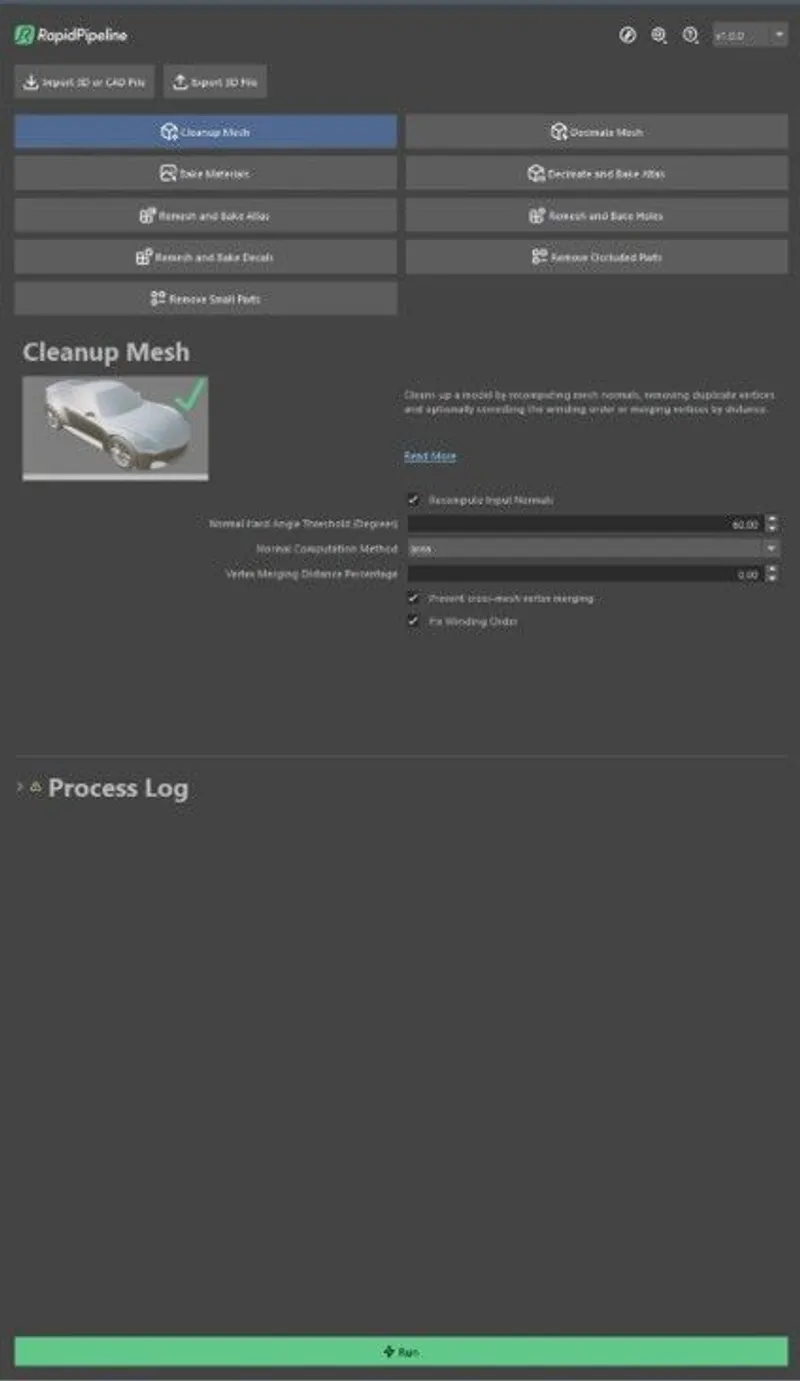
The Clean Up Mesh action opened in the plugin.
These settings are optimal for this model, as some parts have incorrect winding order. For other models with faulty mesh normals, the setting Fix Winding Order may not be needed. In that case, simple use Recompute Input Normals. The angle at which recomputed normals will be considered “hard” is controlled with the Normal Hard Angle Threshold setting.
Examine the Results
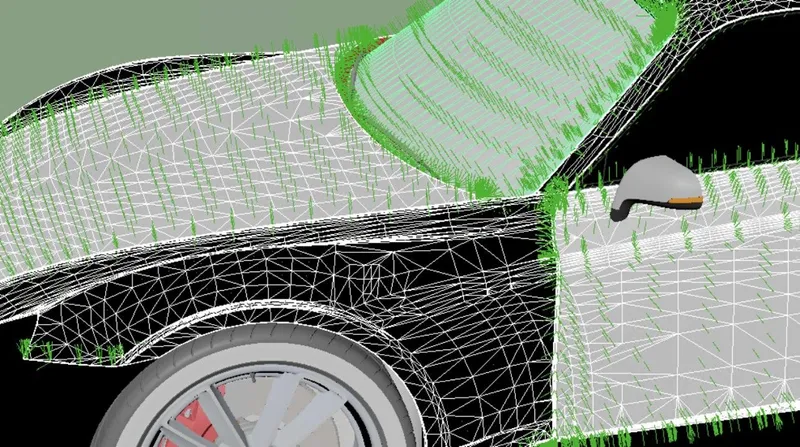
To inspect the winding order fix in Maya, select the mesh that contains the roof of the car. Then, go to the Display menu in the top bar and navigate to Polygons > Face Normals or Vertex Normals to enable normal visualization.
You can follow the same steps for the input and the output model to examine the winding order fix closely.
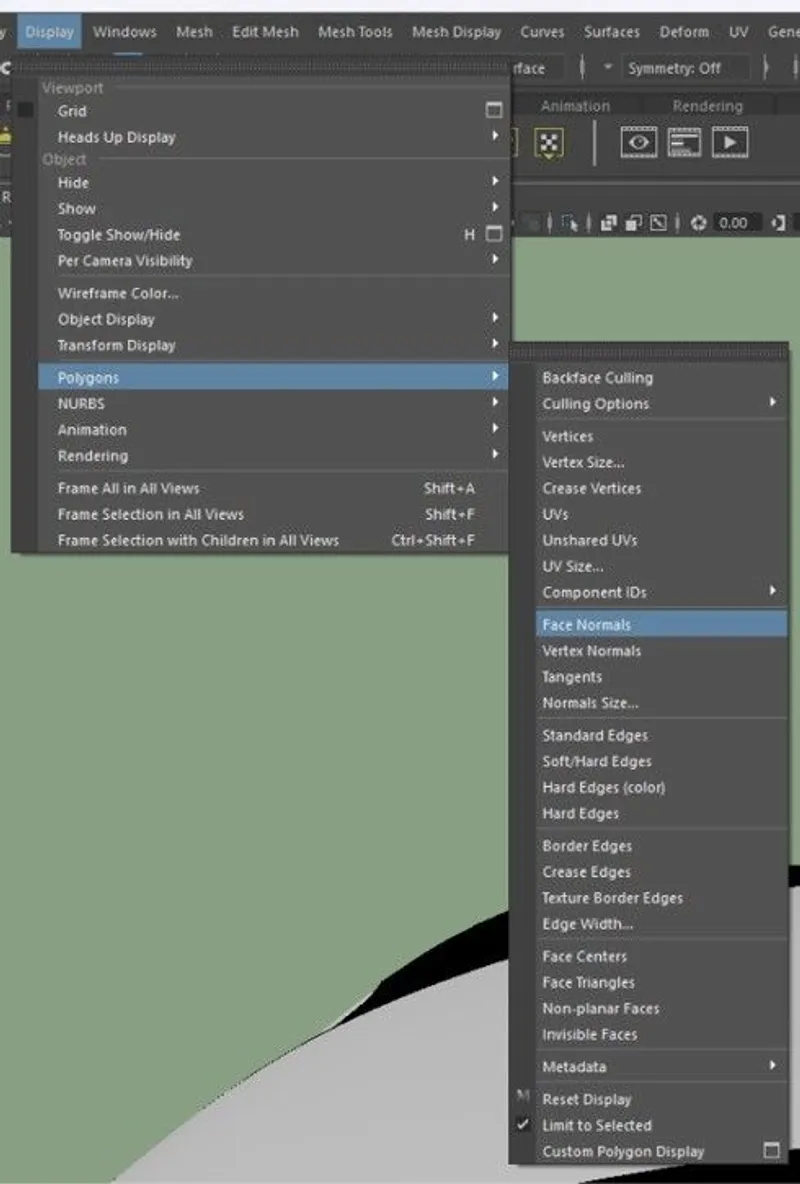
The Face Normals option inside the Display menu.

The Input with wrong Winding Order (normal view).

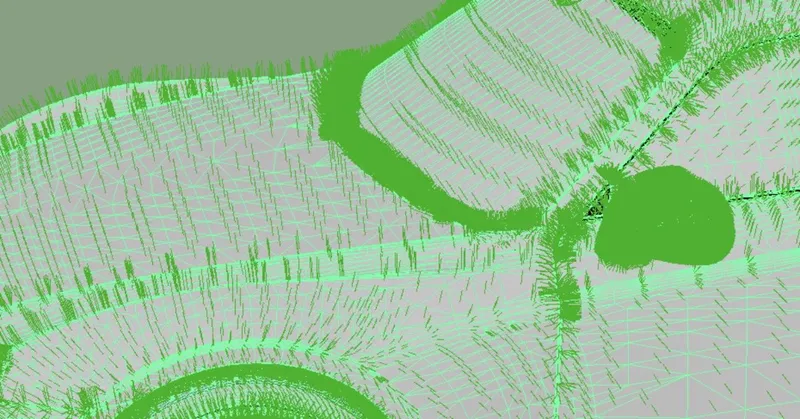
The output with correct Winding Order (normal view).
To get started with 3D data conversion and optimization today, sign up for a free account!
If you have any questions, feel free to chat with our human team.
Meet the Author

3D Knowledge Team
3D Technical Artists
RapidPipeline lets you convert, optimize and prepare your 3D models, easily. Try it today, or meet our human 3D experts. The Best-in-Class Tools for Your 3D Processing Jobs