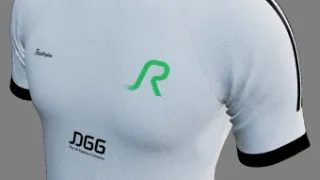
How to Remesh and Bake Decals in Autodesk 3ds Max
Table of Contents
General Information
This guide is part of the RapidPipeline 3D Plugin Actions Knowledge Base. It shows how to Remesh and Bake Decals on Autodesk 3ds Max; if you'd like to know more about it, please check out the following links:
Best-in-Class 3D Processing in Your Favorite Tools.
100% Local Processing via Desktop Software.
Tutorials & Videos
- On the Menu Bar, click on RapidPipeline and choose Load Plug-in.
- Select the model you want to optimize (if no selection is made, the whole scene will be processed).
- Inside the plugin window, choose the action Remesh and Bake Decals.
- Press the Run button.
- Use the 3ds Max plugin
- Select a part
- Run "Remesh and Bake Decals" action
- Examine the results
This tutorial shows how use the RapidPipeline Processor plugin in 3ds Max to simplify a model by generating a simple, clean mesh and bake details such as graphic images and logos into textures using the Remesh and Bake Decals action. This optimization method is optimal for assets like apparel with seams or prints. For more information see the 3ds Max plugin Documentation.
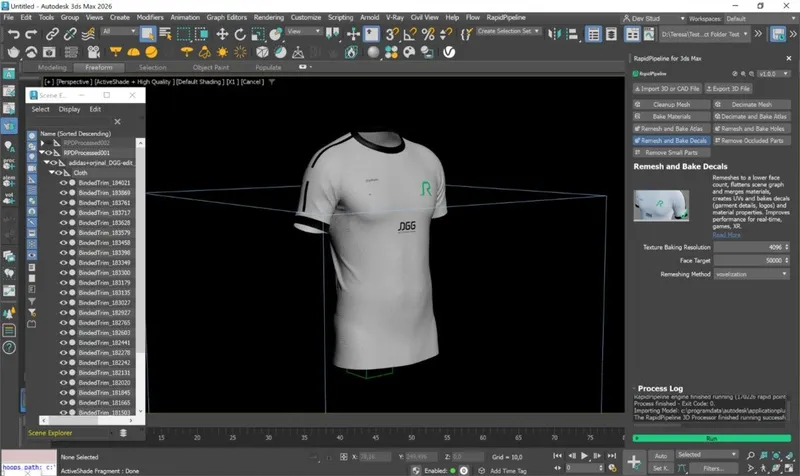
The t-shirt input model
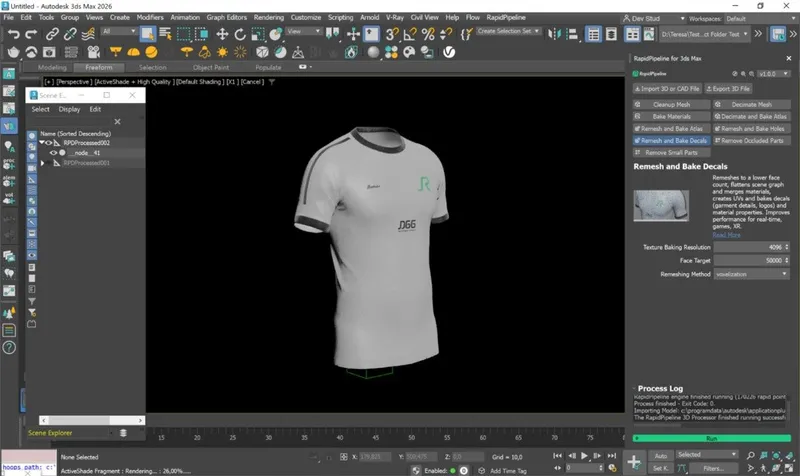
The t-shirt after the optimization, remeshed and baked
Here is a preview of the processing´s output: the input t-shirt (top) has 32 nodes and 700k faces, and the output (bottom), 1 node and 8k faces.
The fabric, trims, seams and prints have been remeshed into a single mesh, and the details have been baked into texture maps.
Remesh and Bake Decals Action

- Select the model you want to optimize (if no selection is made, the whole scene will be processed).
- Inside the plugin window, choose the action Remesh and Bake Decals.
- Press the Run button.

Location of the UI in the Menu Bar
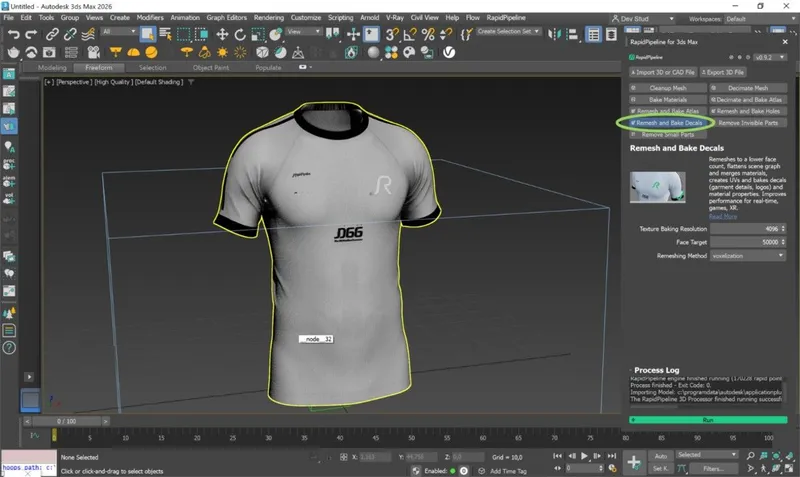
The Remesh and Bake Decals action opened in the plugin
Examine the Results
To see the results with proper shading and the effect of the texture baking, enable “High Quality” from the Viewport Shading drop-down menu.
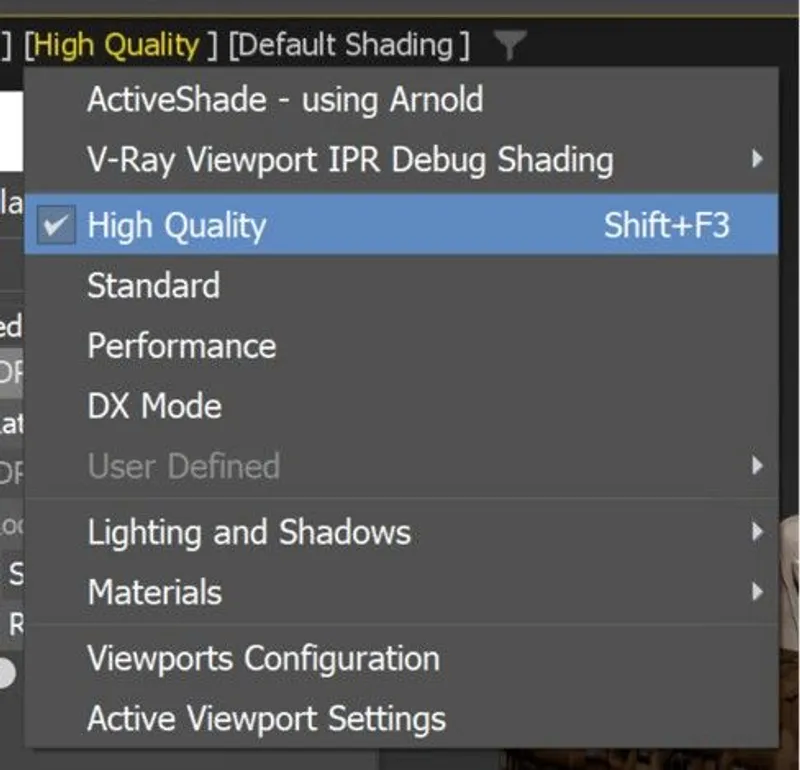
"High Quality” option in the Viewport Shading drop-down menu
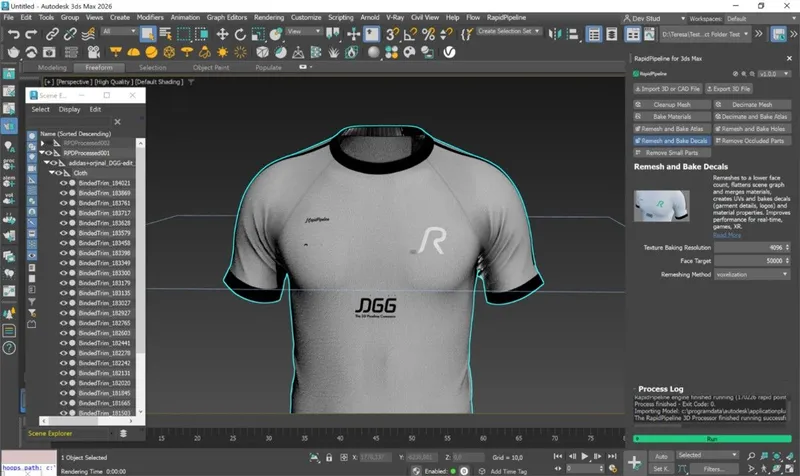
Input without Arnold ActiveShade (wrong)
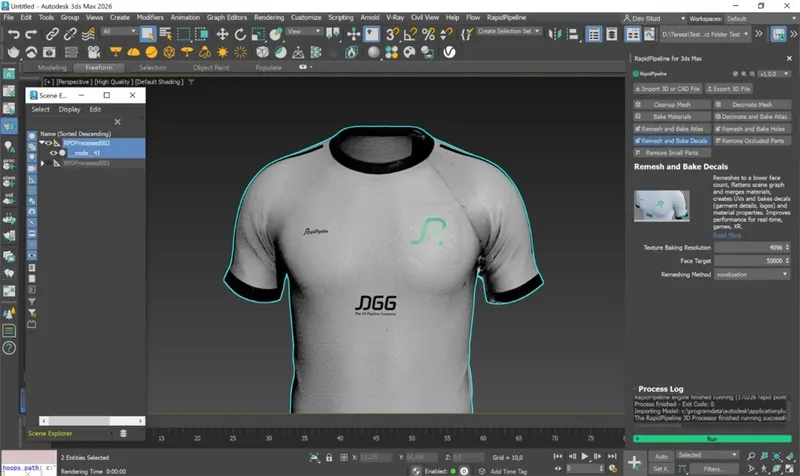
Output without Arnold ActiveShade (correct)
To see the difference in the node hierarchy between input and output, open the Scene Explorer, available under Tools in the Menu Bar.
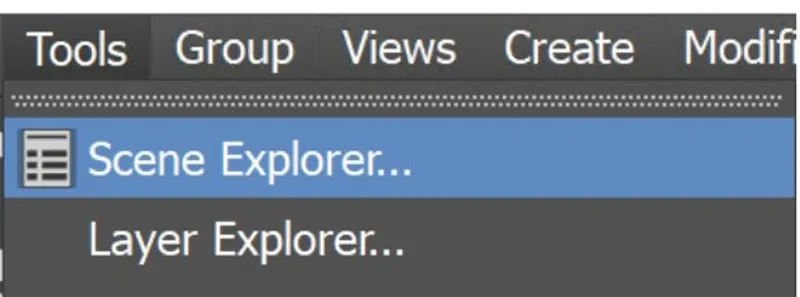
"Scene Explorer” in the Menu Bar
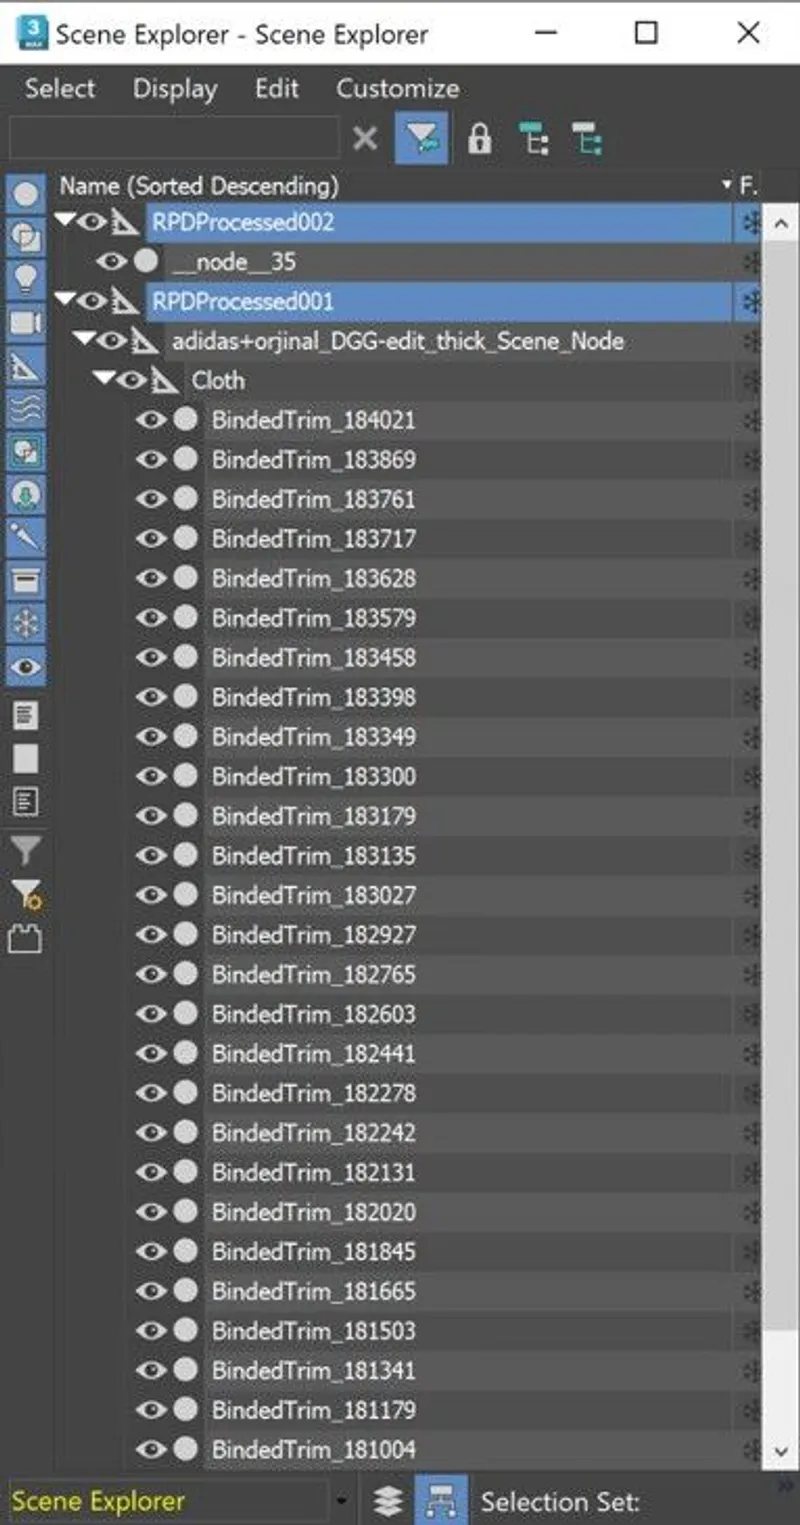
Node hierarchy of Output (“RPDProcessed02”) and Input (“RPDProcessed01”)
Finally, to fully check the topology optimization by enabling “Edged Faces” from the Viewport Shading drop-down menu, so you can see a wireframe view of your models.
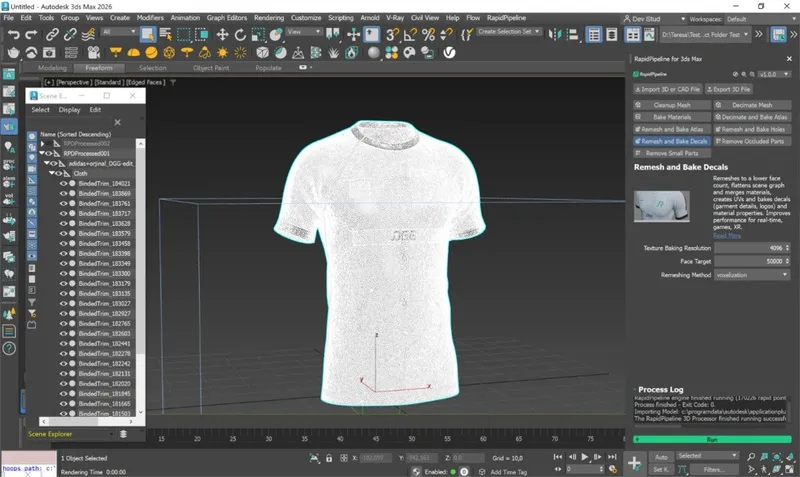
The Input with enabled “Edged Faces”
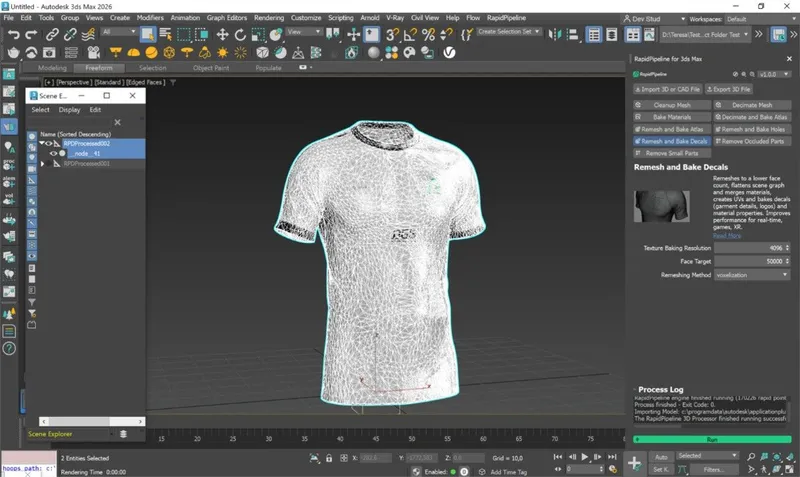
The Output with enabled “Edged Faces”
To get started with 3D data conversion and optimization today, sign up for a free account!
If you have any questions, feel free to chat with our human team.
Meet the Author

3D Knowledge Team
3D Technical Artists
RapidPipeline lets you convert, optimize and prepare your 3D models, easily. Try it today, or meet our human 3D experts. The Best-in-Class Tools for Your 3D Processing Jobs