
How to Remesh and Bake Holes in Autodesk 3ds Max
Table of Contents
General Information
This guide is part of the RapidPipeline 3D Plugin Actions Knowledge Base. It shows how to Remesh and Bake Holes on Autodesk 3ds Max; if you'd like to know more about it, please check out the following links:
Best-in-Class 3D Processing in Your Favorite Tools.
100% Local Processing via Desktop Software.
Tutorials & Videos
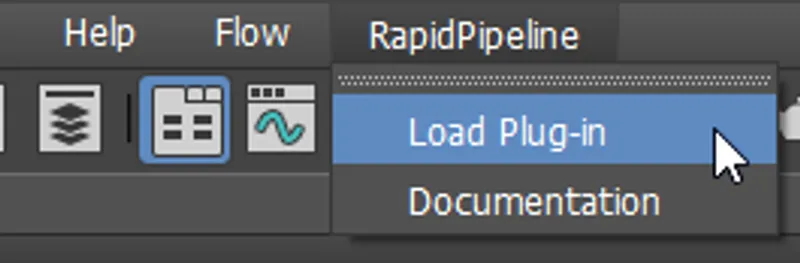
- On the Menu Bar, click on RapidPipeline and choose Load Plug-in.
- Select the wicker mesh by clicking on it in the Viewport.
- Inside the plugin window, choose the action Remesh and Bake Holes.
- Press the Run button.
This tutorial contains these key points:
- Use the 3ds Max plugin
- Select a part with intricate holes
- Run the "Remesh and Bake Holes" action
- Examine the results
This tutorial shows how use the RapidPipeline Processor plugin in 3ds Max to simplify a 3D model. It walks through the use of the Remesh & Bake Holes action, and explains how to use it for closing holes and baking them into an alpha texture.
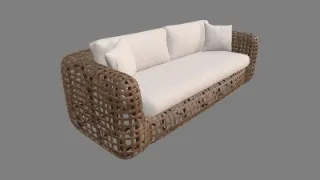
The asset used in this tutorial is a high-resolution model "wicker sofa" (https://skfb.ly/prBJM) by Md Imamul Hasan licensed under Creative Commons Attribution (http://creativecommons.org/licenses/by/4.0/).
The sofa input model
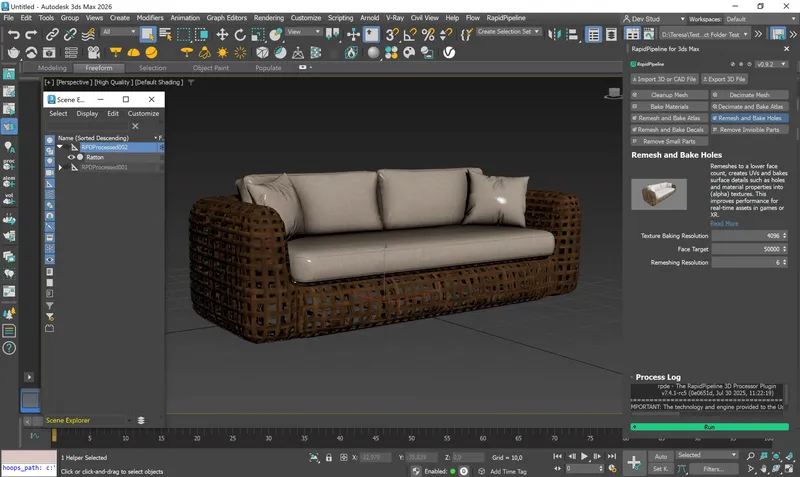
The sofa after remeshing the wicker
The wicker has been remeshed, and the full complement of PBR textures were automatically baked from the high-resolution source meshes: color, alpha, normal, rough, metal, and occlusion.

The remeshed wicker sofa (upper left), baked color (upper right), baked alpha (lower left), and baked normal (lower right).
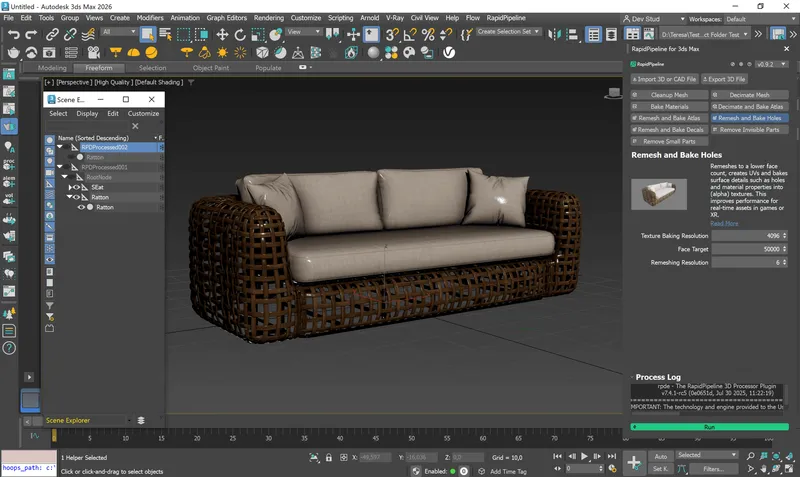
Remesh and Bake Holes Action
- Select the wicker mesh by clicking on it in the Viewport.
- Inside the plugin window, choose the action Remesh and Bake Holes.
- Press the Run button.

The Remesh and Bake Holes action opened in the plugin
Examine the Results
To see the results with proper shading and the effect of the alpha baking, enable “High Quality” from the Viewport Shading drop-down menu.

"High Quality” option in the Viewport Shading drop-down menu
To see the difference in the mesh and inspect the holes-closure even closer, select the “Clay” effect from the Visual Style & Appearance Menu. You will so be able to see the mesh differences between input and output.
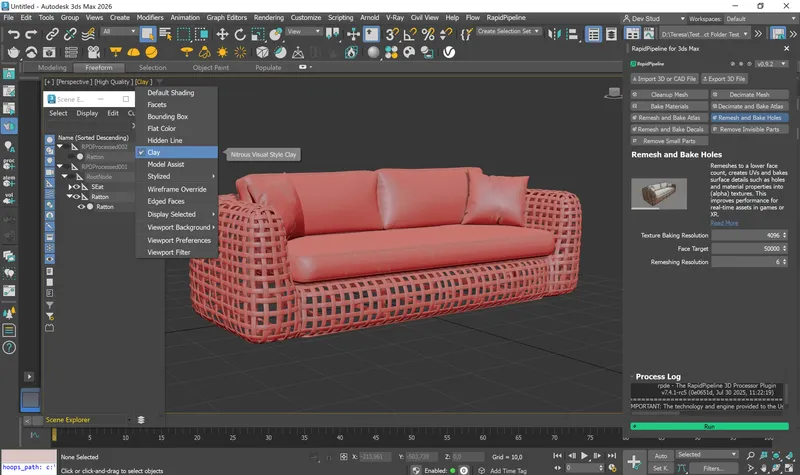
The Input in ”Clay” Visual Style
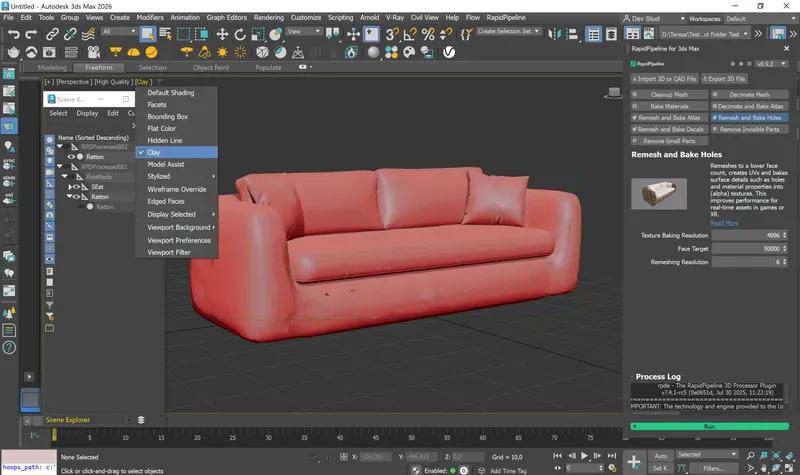
The Output in ”Clay” Visual Style
To get started with 3D data conversion and optimization today, sign up for a free account!
If you have any questions, feel free to chat with our human team.
Meet the Author

3D Knowledge Team
3D Technical Artists
RapidPipeline lets you convert, optimize and prepare your 3D models, easily. Try it today, or meet our human 3D experts. The Best-in-Class Tools for Your 3D Processing Jobs